
1. Port anchor

2. Bull nose and base of Jack Staff

3.

4.

5.

6.

7.

8. Bridge

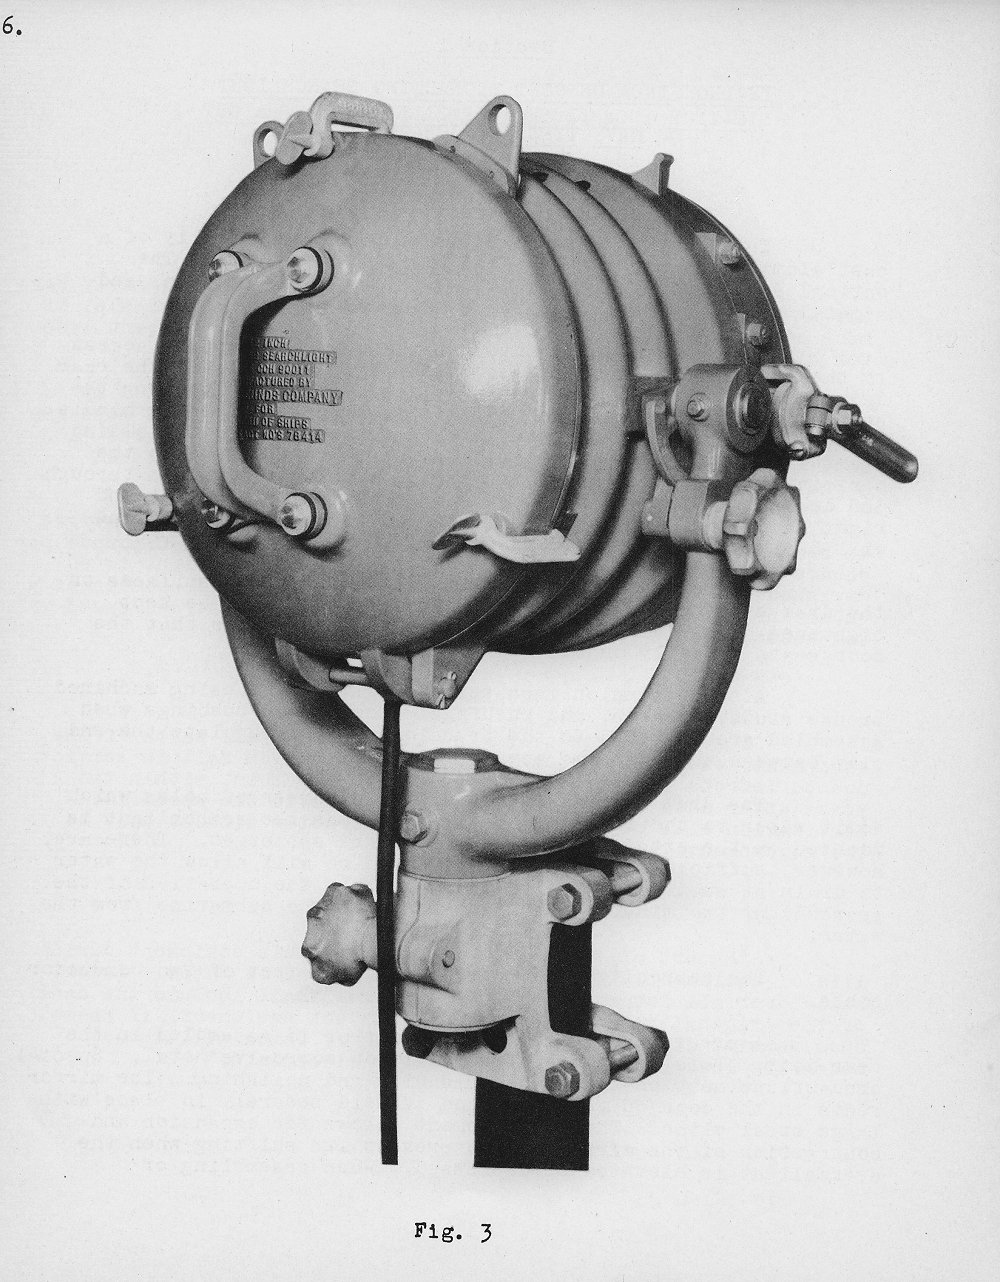
10. Twelve-inch signal search light

11. Twelve-inch signal search light

12.

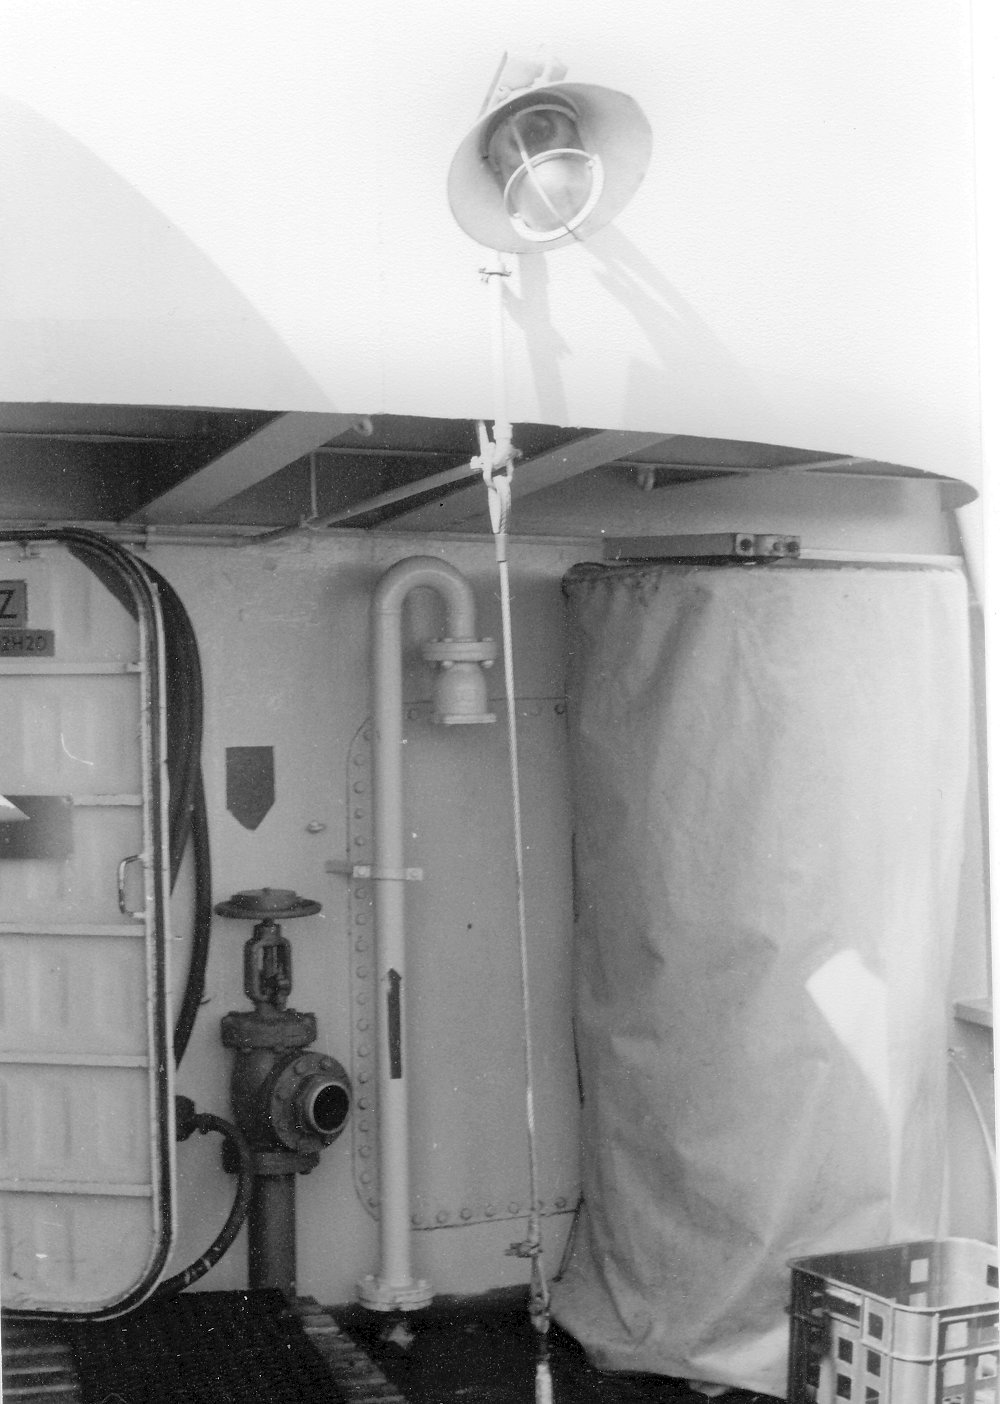
13. Quick-acting water tight door

14. Pilot house, looking forward

15. Open bridge compass

16. Helm

17. Pilot house, aft bulkhead, port side

18. Pilot house, aft bulkhead, port side

19. Pilot house, aft bulkhead, starboard side

20. Pilot house, aft bulkhead, starboard side

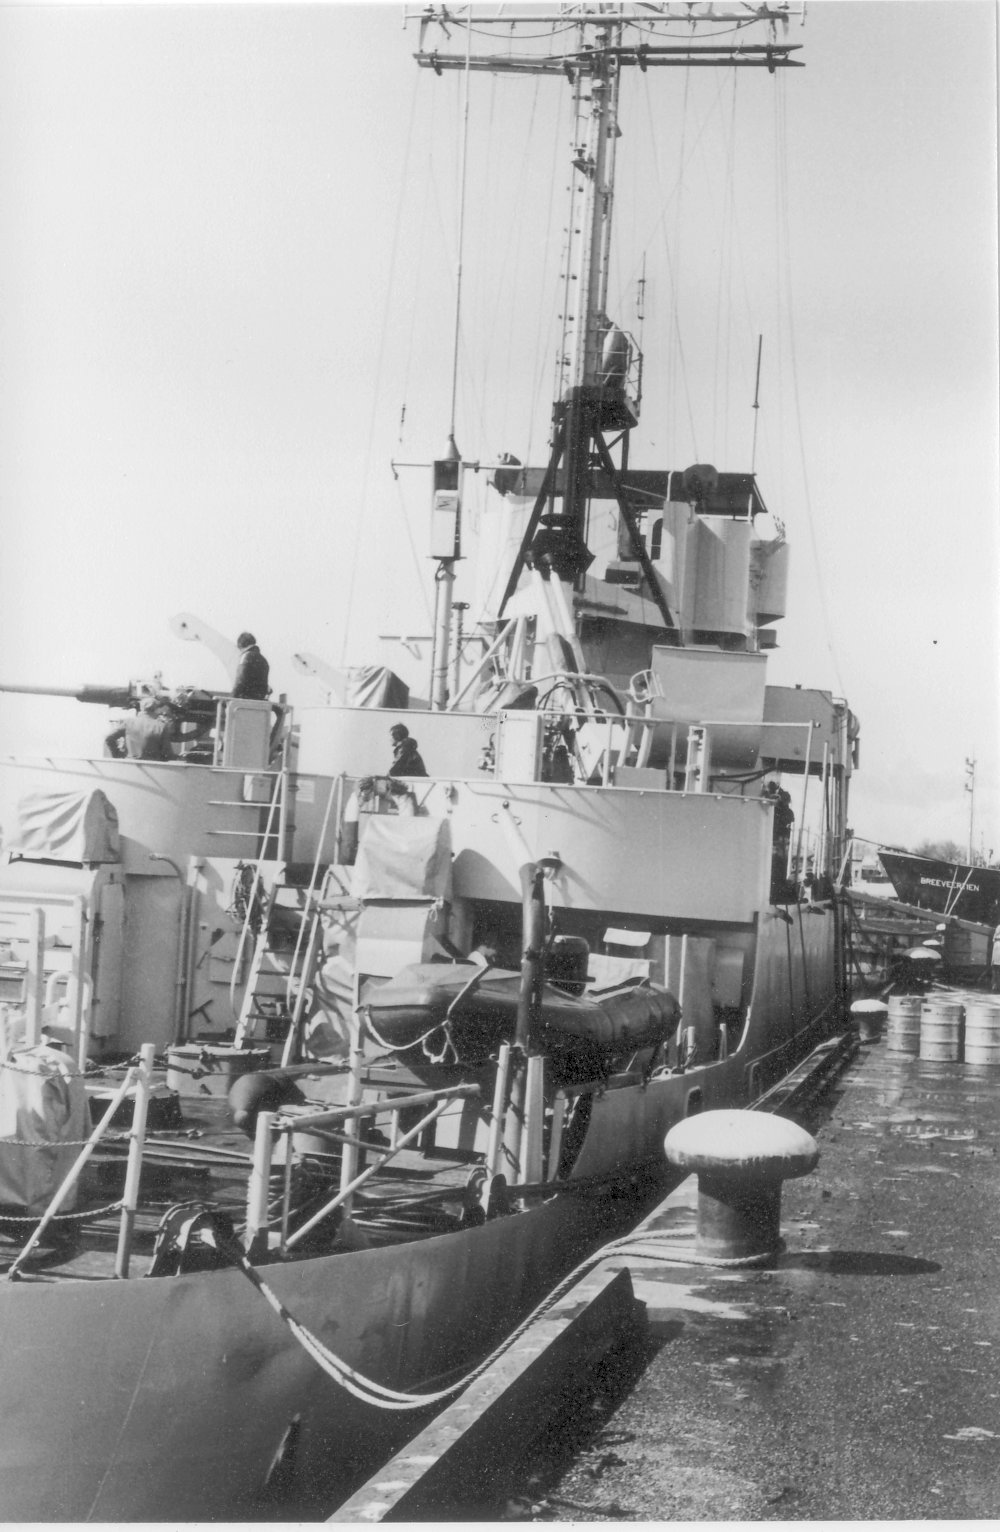
21. Main deck, looking aft at 3"/50 mount and bridge

22. Main deck, looking aft at 3"/50 mount and splinter shield

23. 3"/50 mount

24. Pedestal of 3"/50 mount

25. Elevation wheel on 3"/50 mount

26. Hedgehog launcher

27. Hedgehog launcher

28. Hedgehog launcher

29. Looking aft at open bridge, mast and antenna
30. Looking aft at open bridge, mast and antenna

31. Port side view of superstructure

32. Starboard view of superstructure and antenna outlets

33. Watertight door

34. Port side vent pipe

35. Boat davit with 26' motor whale boat

36. Boat davit with 26' motor whale boat

37. Boat davit with 26' motor whale boat

38. Starboard side mooring line stowage reels
39. Mooring line stowage reels

40. Watertight door

41.

42.

43.

44. Ships bell

45.

46.

47. Electrical shore power receptacle

48.
49.

50.

51. Portside flag bag

52. Starboard side flag bag

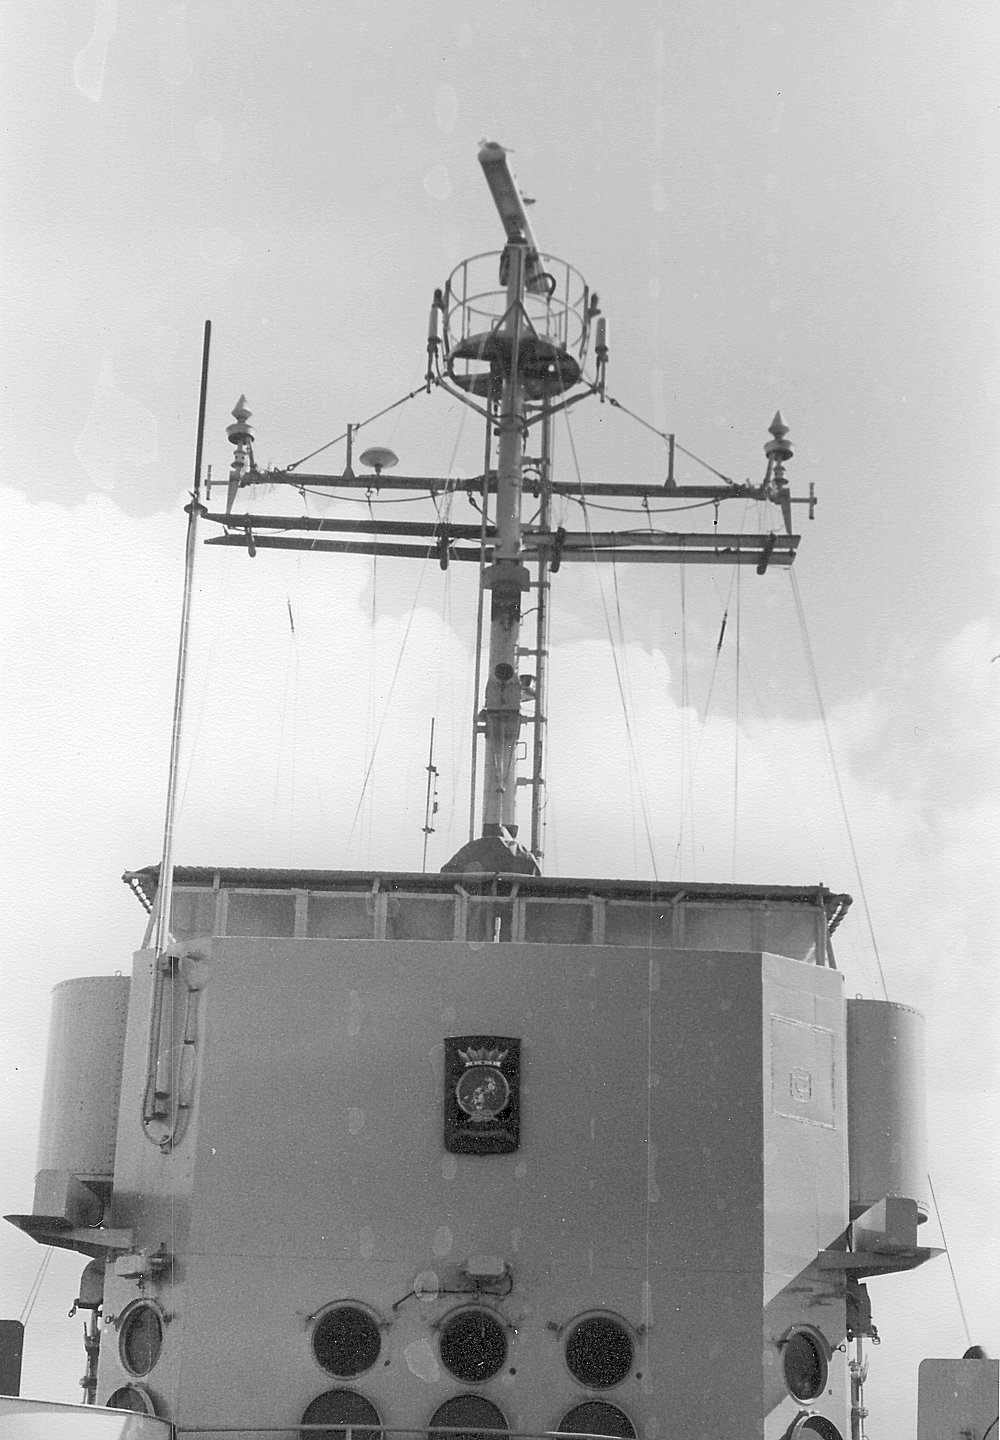
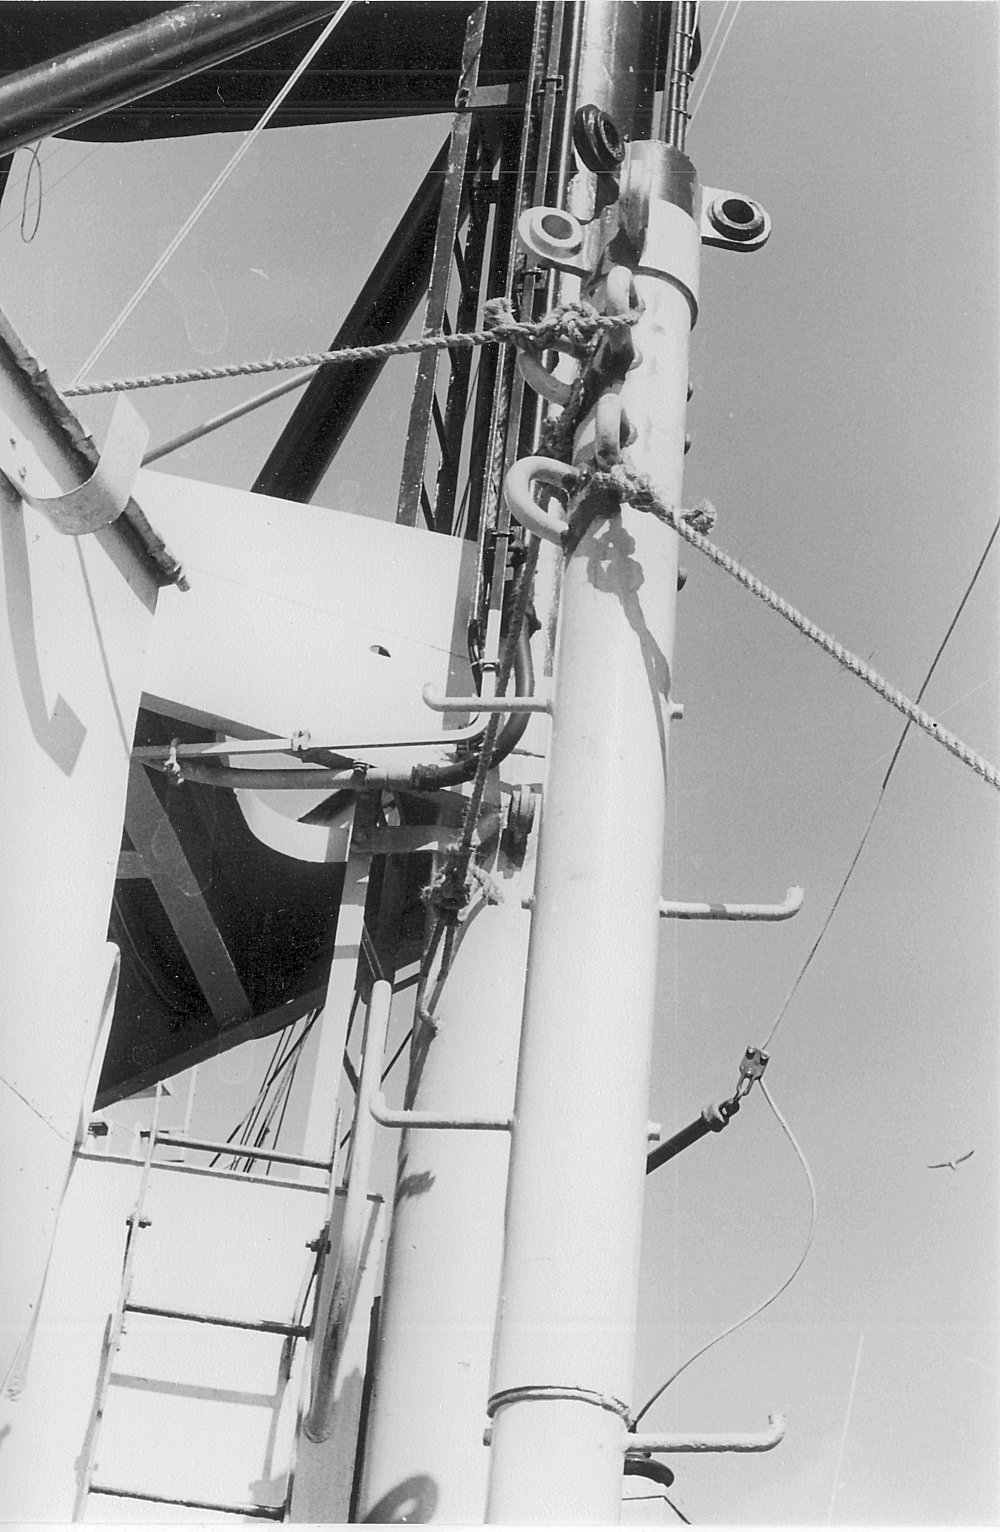
53. Mast and antenna

54. Mast and antenna

55. Front and rear views of searchlight

56. Rigid inflatable boat
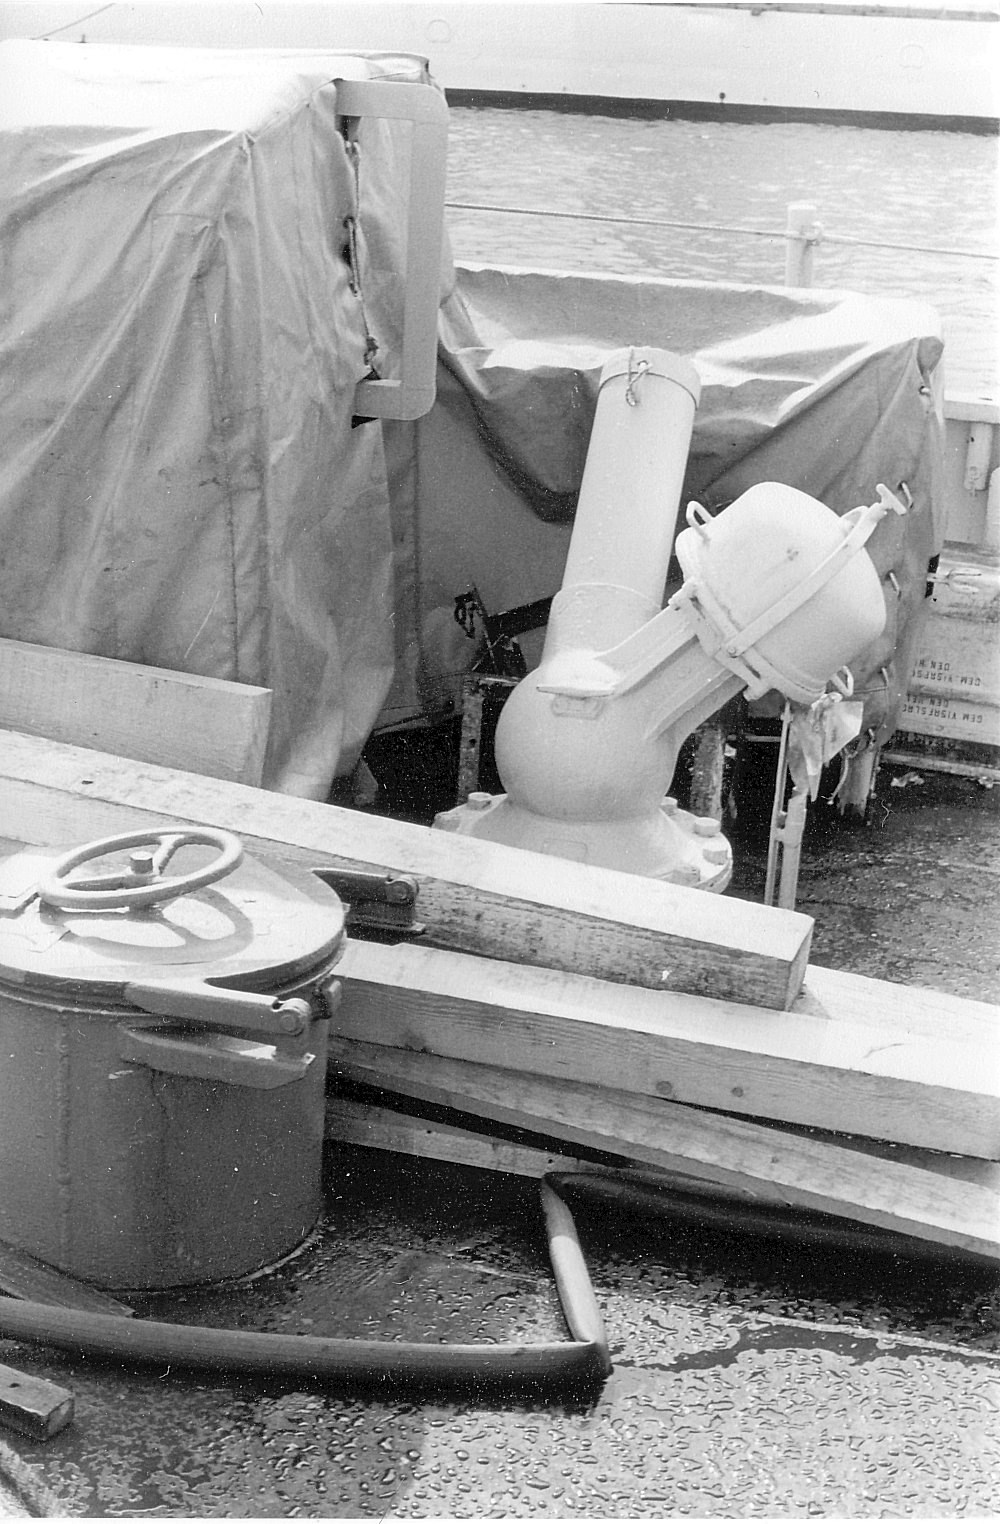
57. K-gun

58. Bitts at stern between depth charge tracks

59. Depth charge track

60.

61.

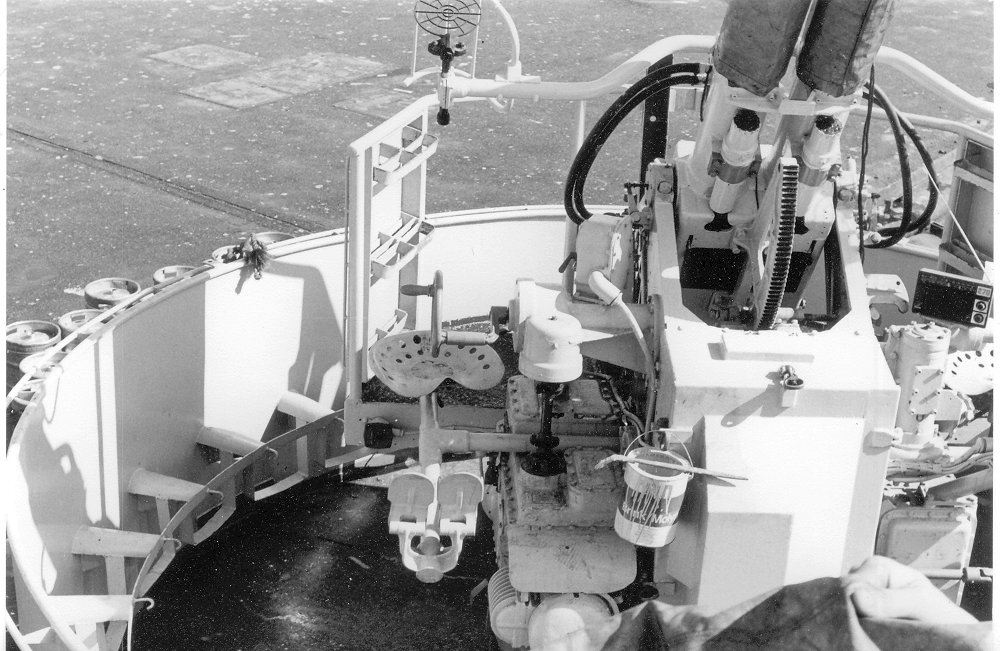
62. Starboard 40mm mount
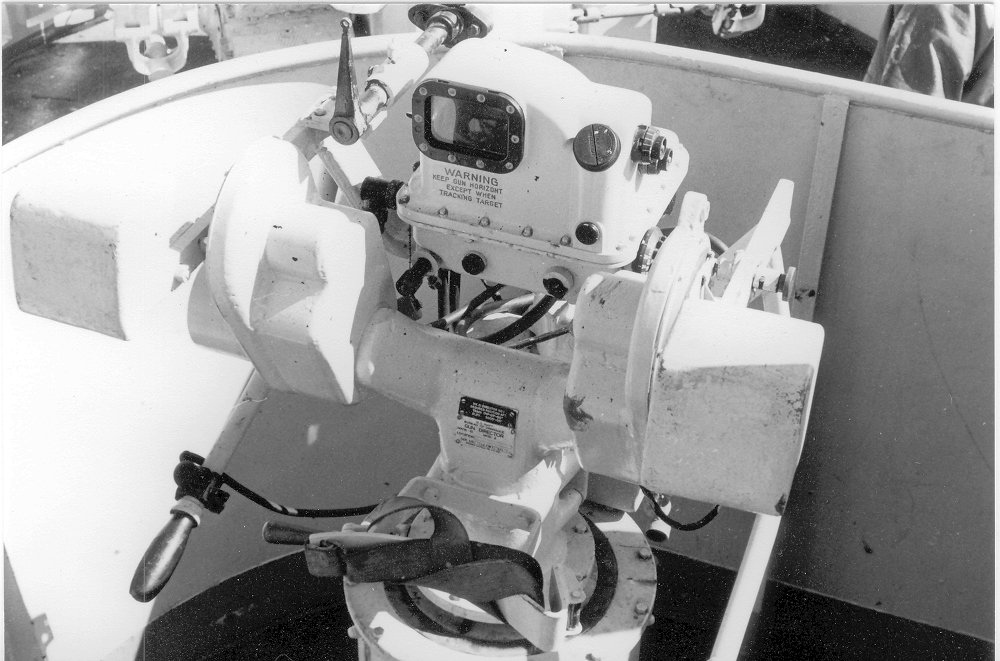
63. Mk 51 with Mk 14 Mod 6 gun sight

64. Mk 51 Mod 2 director, front and right
side views

65. Mk 51 director with Mk 14 Mod 6 gun sight

66. Mk 51 Mod 2 director with Mk 14 Mod 2 gun sight

67. Access to 40mm gun tub

68. Scuttle

69. 40mm mount
70.

71. 40mm ready ammunition racks

72. 40mm, left side view

73. 40mm shell ejection chutes

74. Left seat, 40mm mount
75. Starboard quarter view

76. General arrangement right side elevation, 40mm mount

77. General arrangement left side elevation, 40mm mount

78. General arrangement plan view 40mm mount

79. General arrangement front elevation,
40mm mount

80. General arrangement rear elevation, 40mm mount

81. Training gear manual drive, 40mm mount

82. Elevation gear manual drive, 40mm mount

83. Mk 4 40mm mount with training elevation power drive. Photo taken on board SS Lane Victory at San Pedro, CA.
c. 1993

84. Mk 4 40mm mount with training elevation power drive. Photo taken on board SS Lane Victory at San Pedro, CA.
c. 1993

85. Mk 5 power drive system on twin 40mm mount similar in every respect to that of quad mounts

86. General arrangement, 40mm sight

87. Working circle Mk 22 - 3"/50 mount

88. General arrangement Mk 22 - 3"/50 mount

89. 3"/50 mount in action